User_App_QuickStart
This tutorial assumes that you have completed:
- Create an empty GameObject in your Unity scene (
Ctrl+Shift+N).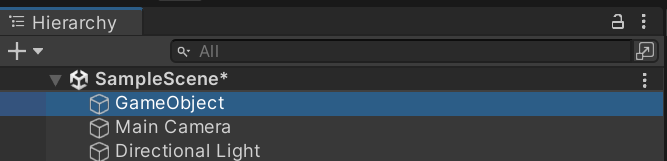
- Add the
Ros Connectorscript to the GameObject (Ctrl+Shift+A).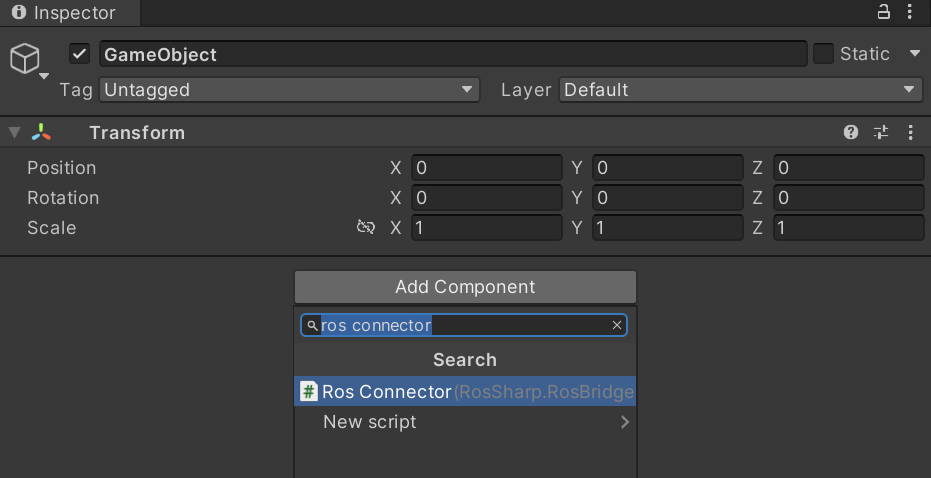
- Fill in your local address and select your desired serializer and protocol. A specific serializer/protocol might not work for your other packages. If both serializers/protocols are not working for your needs, head to serializers and protocols wiki pages for more information. If Unity doesn't complain, leave it as is.
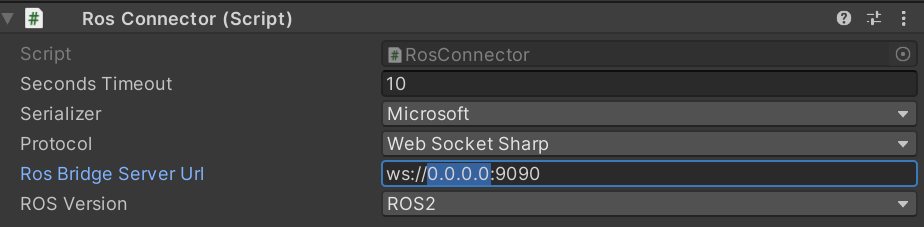
- Run your (rosbridge server and) Unity project. If you see a 'connected' notification, you've successfully configured/connected the ROS#.

ROS# comes with various of prewritten message types, subscriber and publisher classes. For the sake of simplicty, let's use the StringSubscriber.cs for this tutorial. Before moving on, let's examine the code first.
com.siemens.ros-sharp\Runtime\RosBridgeClient\RosCommunication\StringSubscriber.cs:
namespace RosSharp.RosBridgeClient
{
    public class StringSubscriber : UnitySubscriber<MessageTypes.Std.String>
    {
        public bool isMessageReceived;
        private string messageData;

        protected override void Start()
        {
            base.Start();
        }
...- We see that the
StringSubsriberclass implements theUnitySubsriberabstract MonoBehaviour template class, just like any other subsriber class in ROS#. As the name suggests, theStringSubsriberclass implements the template with the<MessageTypes.Std.String>message type. Message types are located in theRosSharp.RosBridgeClient.MessageTypesnamespace. ROS# ships with a bundle of popular message types, but you can create a completely custom message type for your needs if you wish. See adding new message types for more information.
        ...
        protected override void ReceiveMessage(MessageTypes.Std.String message)
        {
            messageData = message.data;
            isMessageReceived = true;
        }
...-
ReceiveMessageis an implemented abstract callback method that is triggered in every incoming message. In this example, it just updates themessageData.
        ...
        void FixedUpdate()
            {
                Debug.Log("Received message: " + messageData);
            }
        }
}- Finally, we can use Unity's built-in
FixedUpdatemethod to print themessageDataat a fixed interval. This debugging rate is not relevant to the subscription rate, as it's basically controlled by the publisher and, most importantly, by theTimeStepvariable in the baseUnitySubsriberclass.
-
Open your RosConnectorObject and add the
StringSubsriberscript. Let's use/testfor the topic name and0for the time step, which basically means to receive messages as fast as the publisher sends them.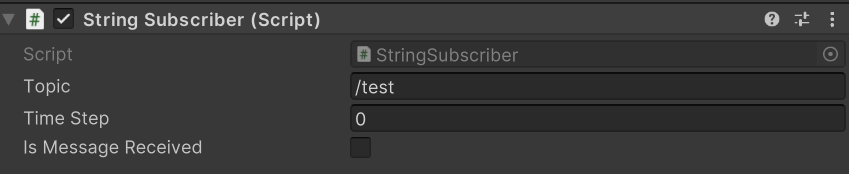
-
Now go to your terminal, open rosbridge and publish some messages.
ros2 launch rosbridge_server rosbridge_websocket_launch.xml

# Another terminal
ros2 topic pub /test std_msgs/msg/String "data: 'Hello ROS#'" 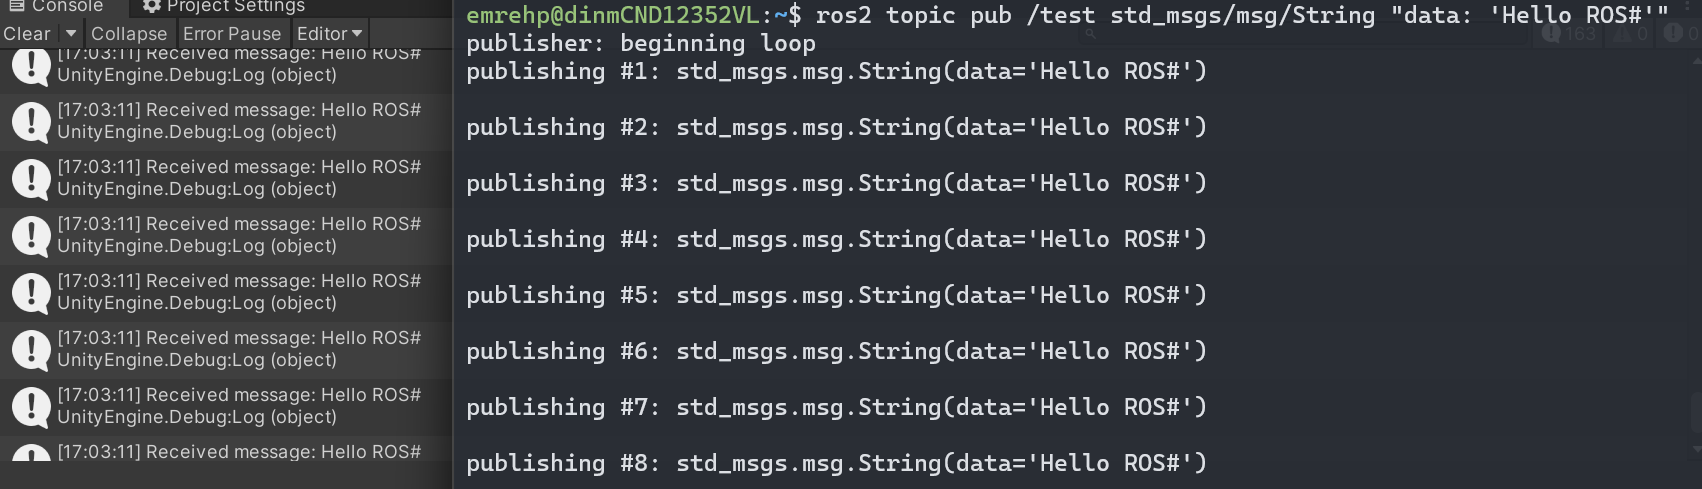
Adding an existing class is very easy, but how about writing one? That is, if not the same, also very easy! Note that there is a Float64 message type in RosSharp.RosBridgeClient.MessageTypes.Std, but there is no Float64Publisher.cs. Why is that? Because we do not want to increase package complexity, size and compile time for a message type you may never use.
- As we learned from the StringSubscriber, we first need to implement the
UnityPublisherabstract class with the correct message type, which is<MessageTypes.Std.Float64>this time.
using UnityEngine;
namespace RosSharp.RosBridgeClient
{
    public class Float64Publisher : UnityPublisher<MessageTypes.Std.Float64>
    {
        public double DoubleData = 0;

        private MessageTypes.Std.Float64 message;
...- After declaring the necessary variables and calling the
Startbase method, since we are now the one creating the message, we need to additionally call theInitalizeMessagemethod. This is the constructor for the<MessageTypes.Std.Float64>message, i.e. theFloat64.csclass.
        ...
        protected override void Start()
        {
            base.Start();
            InitializeMessage();
        }
        private void InitializeMessage()
        {
            message = new MessageTypes.Std.Float64
            {
                data = DoubleData
            };
        }
...- After initialization, again using the built-in
FixedUpdatemethod, we can publish the message at a fixed interval, as the name suggests. This time, however, there is no direct way to change the publishing rate as we had in theUnitySubscriberclass, i.e. theTime Stepvariable. If the fixed time step in the Unity project settings is not suitable for you, i.e. maybe you are doing a simulation in Unity with a fixed physics time step of 2ms and 500 messages per second might be an unnecessary load for the rosbrige_server, you can implement a simple timer via e.g. System.Timers. But for the sake of this tutorial, let's keep things simple.
        ...
        private void FixedUpdate()
        {
            UpdateMessage();
        }
        public void UpdateMessage()
        {
            message.data = DoubleData;
            Publish(message);
            Debug.Log("Published message: " + message.data);
        }
    }
}-
Now add our freshly written script to the RosConnectorObject, then write your favorite topic name and double value.

-
Similary, launch the rosbridge_server from your terminal, run Unity, and subscribe to the topic.
ros2 launch rosbridge_server rosbridge_websocket_launch.xml

# Another terminal, after running Unity
ros2 topic echo /test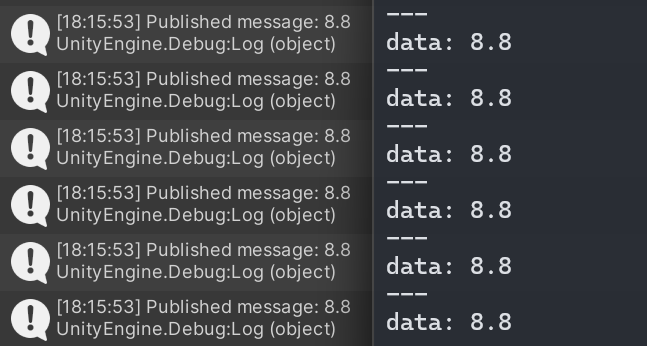
Next tutorial: Transfer a URDF from ROS to Unity
© Siemens AG, 2017-2024