Build, mint, and send around your own ERC721!
Required: Node plus Yarn and Git
git clone https://github.com/austintgriffith/scaffold-eth.git simple-nft-example
cd simple-nft-example
git checkout simple-nft-example
yarn install
yarn start
in a second terminal window:
cd simple-nft-example
yarn chain
in a third terminal window:
cd simple-nft-example
yarn deploy
📱 Open http://localhost:3000 to see the app
✏️ Edit the mint script mint.js in packages/hardhat/scripts and update the toAddress to your frontend address (wallet address in the top right or localhost:3000).
in a terminal window run the mint script:
yarn mint
👀 You should see your collectibles show up if you minted to the correct address:
👛 Open an incognito window and navigate to http://localhost:3000 (You'll notice it has a new wallet address).
⛽️ Grab some gas for each account using the faucet:
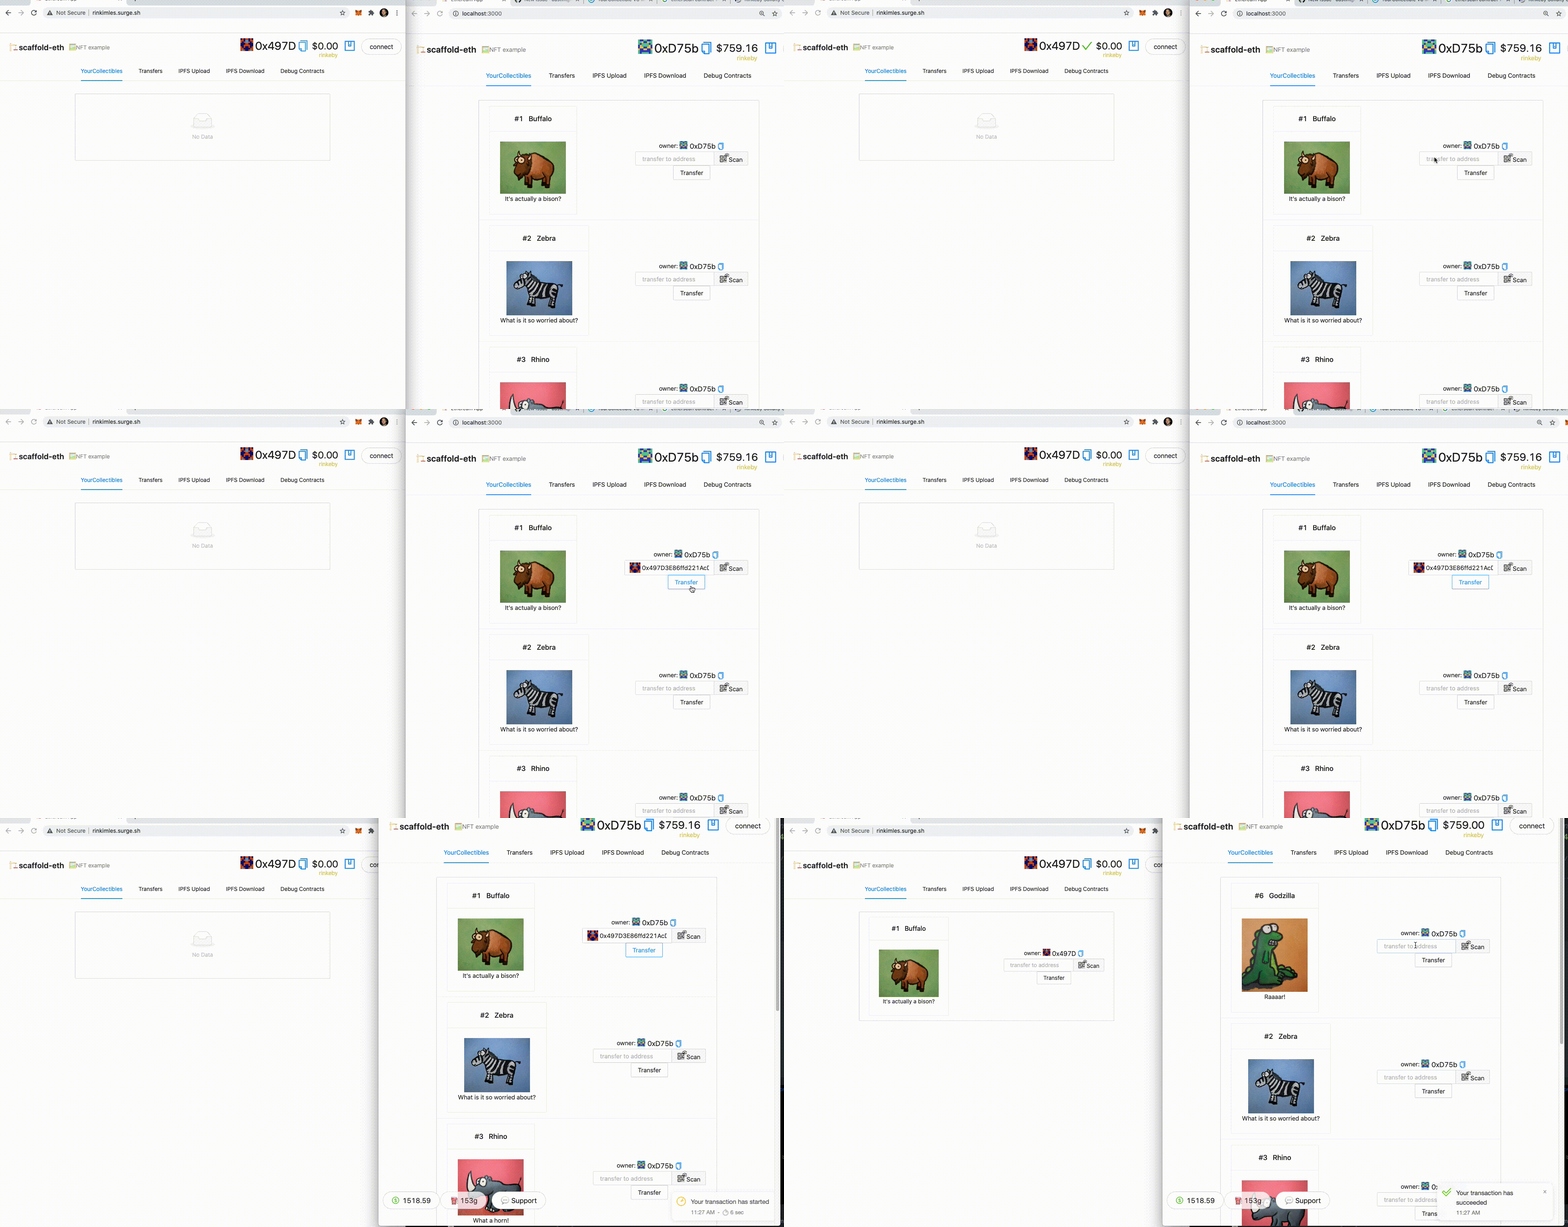
🎟 Send an NFT to the incognito window address:
🕵🏻♂️ Inspect the Debug Contracts tab to figure out what address is the owner of N?
💼 Edit your deployment script deploy.js in packages/hardhat/scripts
🔏 Edit your smart contract N.sol in packages/hardhat/contracts
📝 Edit your frontend App.jsx in packages/react-app/src
🔑 Create wallet links to your app with yarn wallet and yarn fundedwallet
⬇️ Installing a new package to your frontend? You need to cd packages/react-app and then yarn add PACKAGE
🛰 Ready to deploy to a testnet?
Change the
defaultNetworkinpackages/hardhat/hardhat.config.js
🔐 Generate a deploy account with yarn generate
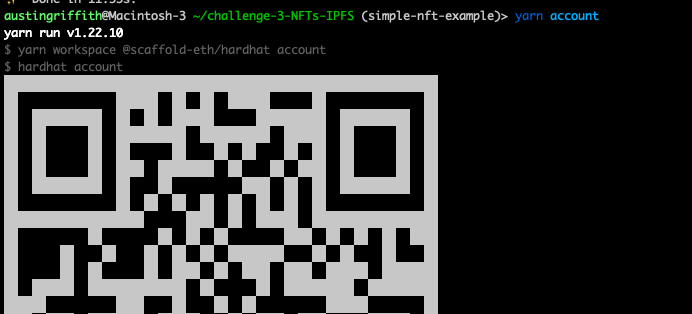
👛 View your deployer address using yarn account (You'll need to fund this account. Hint: use an instant wallet to fund your account via QR code)
👨🎤 Deploy your NFT smart contract:
yarn deploy
✏️ Edit your frontend
App.jsxinpackages/react-app/srcto change thetargetNetworkto wherever you deployed your contract:
You should see the correct network in the frontend:
An instant wallet running on xDAI insired by xdai.io. 🎫 Ready to mint a batch of NFTs for reals?
yarn mint

await tenderlyVerify(
  {contractName: "YourContract",
   contractAddress: yourContract.address
})
Make sure your target network is present in the hardhat networks config, then either update the default network in hardhat.config.js to your network of choice or run:
yarn deploy --network NETWORK_OF_CHOICE
Once verified, they will then be available to view on Tenderly!
Add your contract to OpenSea ( create -> submit NFTs -> "or add an existing contract" )
(It can take a while before they show up, but here is an example:) https://testnets.opensea.io/assets/0xc2839329166d3d004aaedb94dde4173651babccf/1
run yarn flatten > flat.txt (You will need to clean up extra junk at the top and bottom of flat.txt. Sorry, rookie stuff here.)
copy the contents of flat.txt to the block explorer and select compiler v0.6.7 and Yes to Optimization (200 runs if anyone asks)
You will need to get a key from infura.io and paste it into constants.js in packages/react-app/src:
⚙️ build and upload your frontend and share the url with your friends...
# build it:

yarn build

# upload it:

yarn surge

yarn s3

yarn ipfs
👩❤️👨 Share your public url with a friend and ask them for their address to send them a collectible :)
For a more in-depth explanation, documentation, quick start guide, tutorials, tips and many more resources, visit our documentation site: docs.scaffoldeth.io
Join the telegram support chat 💬 to ask questions and find others building with 🏗 scaffold-eth!


