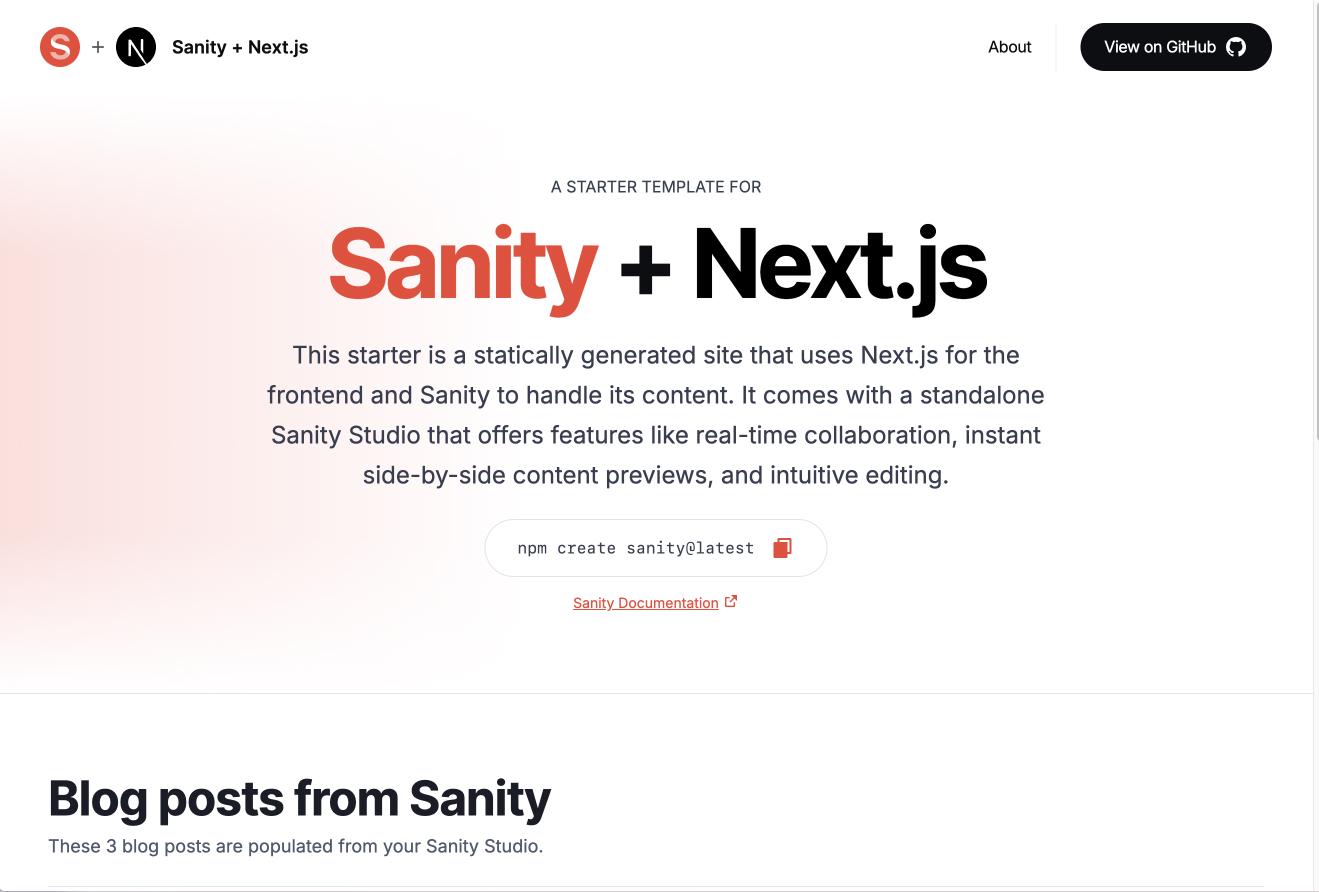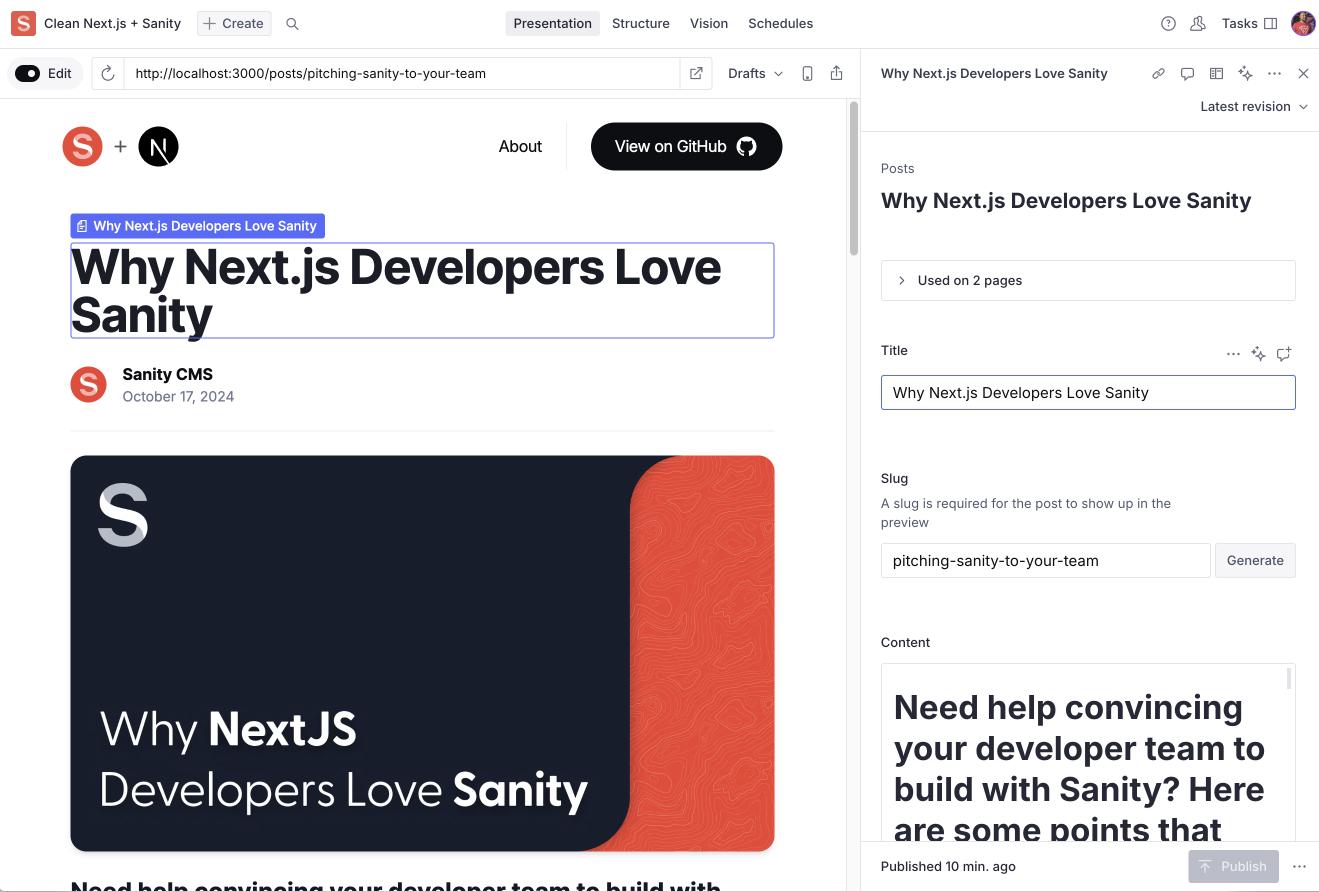

This starter is a statically generated website and blog built with Next.js 15 (App Router) for the frontend and powered by Sanity for content management. It includes a standalone Sanity Studio, providing features like real-time collaboration, visual editing, and live updates through its Presentation mode.
The Studio integrates with Sanity's Content Lake, offering hosted content APIs with a flexible query language, on-demand image transformations, advanced patching, and more. These capabilities seamlessly connect to your frontend via Sanity’s Live Content API, enabling live, dynamic updates without requiring page reloads. Whether you are launching a blog, building a website, or exploring new technologies, this starter gives you a solid foundation to get started.
- Next.js 15, Fast and Performant: Static site built with Next.js App Router for excellent speed and SEO.
- Real-time Visual Editing: Use Sanity's Presentation tools to see live updates as you edit.
- Live Content: The Live Content API allows you to deliver live, dynamic experiences to your users without the complexity and scalability challenges that typically come with building real-time functionality.
- Customizable Pages: Create and manage pages using a page builder with dynamic components.
- Powerful Content Management: Collaborate with team members in real-time, with fine-grained revision history.
- AI-powered Media Support: Auto-generate alt text with Sanity AI Assist.
- On-demand Publishing: No waiting for rebuilds—new content is live instantly with Incremental Static Revalidation.
- Easy Media Management: Integrated Unsplash support for seamless media handling.
🌐 https://template-nextjs-clean.sanity.dev
The easiest way to start is by deploying your app to Vercel with the button below. This will:
- Clone the repo to your GitHub account.
- Link or set up a Sanity project.
- Deploy your Next.js app on Vercel.
Click the button to begin the setup wizard for your Next.js and Sanity project.
Note: Prefer manual installation? See manual-installation.md.
After your Vercel build completes, you'll see a toast error "Couldn't connect to Live Content API". To fix this, you'll need to set the URL of your app (Ex: https://nextjs-sanity-app.vercel.app) as a CORS origin in your Sanity Manage Console, located under API > CORS Origins. You don't need to allow credentials.
To account for development and preview deployments, you might also want to add CORS Origin with a wildcard *, like https://nextjs-sanity-app-*.vercel.app.
-
Clone your repository:
git clone <your-repo-url>
cd your-repo-name/studio
-
Initialize Sanity Studio:
npm install
npx sanity init --env
This will generate a
.envfile in thestudiodirectory. -
Configure environment variables:
In the generated .env file, add the following:
SANITY_STUDIO_PREVIEW_URL="<your-vercel-app-url>"Replace
<your-vercel-app-url>with the URL of your Vercel-hosted Next.js app. -
Import Demo Data (optional):
If you want to start with some sample content, you can import the provided dataset (demoData.tar.gz) into your Sanity project. This step is optional but can be helpful for getting started quickly.
To import the dataset, run the following command in your terminal:
npx sanity dataset import demoData.tar.gz production
Note: If you're using a different dataset name, replace
productionwith your dataset name. -
Deploy your Studio:
npx sanity deploy
You'll be prompted to set a URL for your deployed Sanity Studio (e.g.,
https://your-project-name.sanity.studio). Take note of this URL as you'll need it in the next step.
- Go to your Vercel Project's Dashboard > Settings > Environment Variables.
- Add:
- Name:
NEXT_PUBLIC_SANITY_STUDIO_URL - Value: Your Sanity Studio's URL (e.g.,
https://your-project.sanity.studio).
- Name:
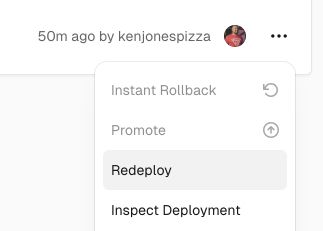
- Redeploy your Next.js app to apply changes.
Tip: You can redeploy your Next.js app by clicking Deployments and clicking the three dots on the right of your latest deployment and selecting Redeploy.
When developing your app, you'll run the files locally. Pushing your changes to the repo will trigger a build on Vercel and your changes will be deployed automatically. You can deploy your Sanity Studio at any time by running npx sanity deploy in the studio directory, as we did earlier.
-
Set environment variables:
- Use the Vercel CLI to link and pull environment variables:
cd nextjs-app vercel link vercel env pull .env.development.local - You can also copy
.env.local.exampleto.env.localand complete the required values. YourprojectIdanddatasetcan be found in your Sanity project's Manage Console and selecting your project.
- Use the Vercel CLI to link and pull environment variables:
-
Install dependencies and run the Next.js app:
npm install
npm run dev
- Set up environment variables:
- Change directories to the
studiodirectory: - Create a
.env.localfile by duplicating the.envfile or copying.env.local.example - Fill in the
projectIdanddatasetvalues, same as the Next.js app. - Set
SANITY_STUDIO_PREVIEW_URLto the localhost URL of your Next.js app or you can leave it blank and the app will fallback to the defaultlocalhost:3000. - Lastly, you'll want to add
localhost:3000as a CORS origin in your Sanity Manage Console, located under API > CORS Origins.
-
Install dependencies and run the Sanity Studio:
npm install
npm run dev
