If you like my job, you can support me by paying me a 🍺 or a ☕. Thanks 🙂
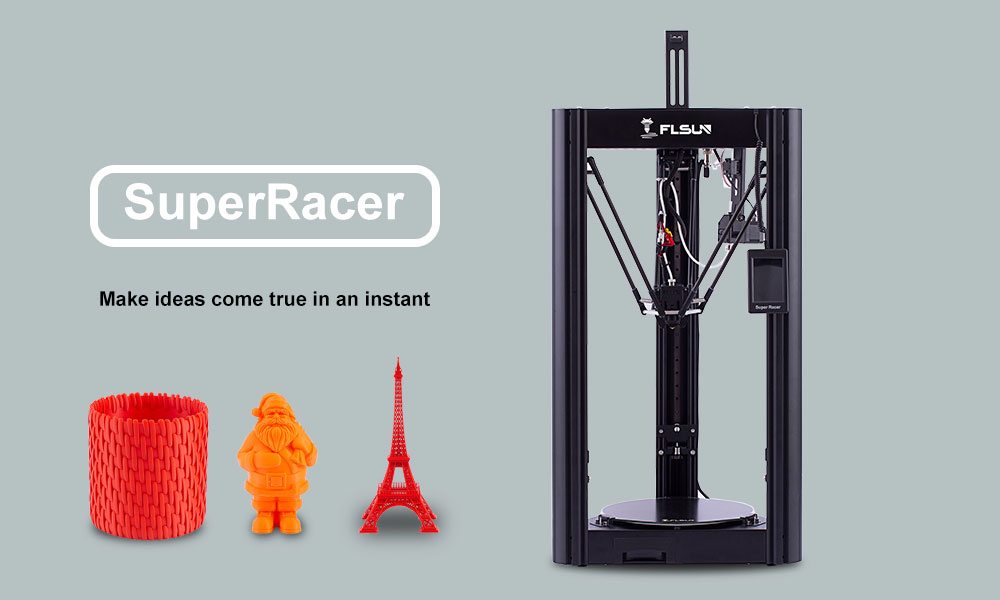
Marlin 2.0.8 Firmware configured for FLSUN Super Racer with MKS Robin Nano V3 motherboard. Based on FLSUN sources.
- MKS Robin Nano V3 motherboard support
- TMC2209 / TMC2226 UART drivers support
- Nozzle & Bed PID support
- Enabled thermal protection for Nozzle & Bed
- Bed Leveling Bilinear 9 x 9 point support
- Nozzle Park / Advanced Pause support with improved position
- Babystepping with Combine Z-Offset support
- EEPROM support
- S-Curve Acceleration support
- Bed Skew Compensation support (https://www.thingiverse.com/thing:2563185)
- G26 - Mesh Validation Pattern support
- G33 - Delta Auto Calibration support
- Enabled StealthChop for extruder
- Disabled Power Loss Recovery because not correctly implemented, repeated writes to the EEPROM are performed. Not good for EEPROM.
- Binary file transfert support to transfer and update the firmware remotely
- Enabled host prompt support
- Enabled Firmware Info with M115
- Enabled monitor for TMC drivers
- Enabled M106 to report the new fan speed when changed
- Improved probing speed
- Improved buffer size
- Fix TMC drivers settings
- Disabled not used settings
- Do an EEPROM reset before flashing the new firmware (command
M502followed by commandM500in a terminal or with the TFT screen). - Restart the printer.
- Choose version you want here,
SDCARDto use microSD Card port orUSBto use USB port. - Copy
Robin_nano_v3.binfile to the root of the microSD card (max capacity 32GB, formatted in FAT32, allocation unit size 4096). - With printer off, insert the microSD card into the dedicated port on the motherboard and turn on the printer.
- Flash procedure starts (without displaying anything on the screen) and lasts a few seconds.
- Check contents of the microSD card,
Robin_nano_v3.binfile has been renamed toROBIN_NANO_V3.CURwhich indicates that the flash was successful. - It's possible after flash you loose text on TFT screen, select your language again and save.
- Do an EEPROM reset again (command
M502followed by commandM500in a terminal or with the TFT screen). - Restart the printer.
- To disable redundant "Not SD printing" commands:
M27 S0
- Launch a Nozzle PID in a terminal:
M303 E0 S220 C8- Retrieve the values
Kp,KiandKdthen: M301 PKpIKiDKd- Then
M500to save.
- Launch a Bed PID in a terminal:
M303 E-1 S90 C8- Retrieve the values
Kp,KiandKdthen: M304 PKpIKiDKd- Then
M500to save.
- Launch an extruder calibration in a terminal:
- Heat your hotend to its usual operating temperature :
M109 Sxxx wherexxxis temperature- Make a pencil mark at 120mm on the filament from the hole on the top of the printer (where we insert the filament)
M83to switch to relative mode.G1 E100 F100for extruding 100mm.- Wait until the end of the extrusion and measure if there is still 20mm of the line on the filament until the filament inlet otherwise apply this calculation:
- To obtain extrusion length:
120 - (value measured between the line and the filament inlet) - To obtain number of steps to have extruded 100mm:
(value of E-steps/mm) x 100. Default E-Steps value is 415. - To obtain the new E-steps/mm:
(number of steps to have extruded 100mm) / (extrusion length)
- To obtain extrusion length:
M92 E(new E-steps/mm)- Then
M500to save.
- Launch a Delta Calibration a wait until end of process :
- Make sure to connect bed level probe before to start the following command.
G33- Then
M500to save.
- Start auto-leveling from the TFT screen menu and adjust Z-Offset. Don't forget to save.
Link for a terminal: Printrun (ex Pronterface)
This Marlin firmware also requires updating the screen firmware, follow these instructions :
- Format microSD to FAT32 with allocation unit size to 4096.
- Extract screen firmware zip file here : Screen Firmware V1.3 and copy
DWIN_SETfolder to the root of the microSD card. - Turn off printer.
- Remove the screen cover and insert the card into the microSD slot.
- Turn on the printer.
- Screen firmware installation begins immediately, you will see several scrolling lines.
- When the
END !appears on the screen, turn off printer and remove the microSD card. - Installation is complete, you can replace the screen cover and turn the printer back on.
-
If you have
SKR 1.3motherboard, set these values :- In platformio.ini :
default_envs = LPC1768 - In Configuration.h :
#define MOTHERBOARD BOARD_BTT_SKR_V1_3 - In Configuration.h :
#define SERIAL_PORT -1 - In Configuration.h :
#define SERIAL_PORT_2 0 - In Configuration_adv.h :
#define E0_AUTO_FAN_PIN P2_04
- In platformio.ini :
-
If you want to use
microSDport :- In Configuration_adv.h :
//#define USB_FLASH_DRIVE_SUPPORT
- In Configuration_adv.h :
-
If you want to use
USBport :- In Configuration_adv.h :
#define USB_FLASH_DRIVE_SUPPORT
- In Configuration_adv.h :
If you need to make any changes in sources files, please read this for compilation: here
Use VSCode et PlatformIO for compilation (see here).


