Basic app that monitors an entire GitHub Organization for commits, forks, and issues, using Github Webhooks.
Developed with Express and Angular.
Demo: https://sml-github-monitor.herokuapp.com
The server can read the variables from the .env file located in the root path.
If you don't want to use OS's environment variables, such as in your local machine, just create a copy of the file .env.example into .env.
-
Clone/fork this project.
-
Configure environment variables.
-
Install dependencies:
yarn install
-
Start the server/client:
yarn dev

# server only
yarn dev:server

# client only
yarn dev:client
-
Navigate to
http://localhost:4200/.
- To debug breakpoints outside the scope of the routes, you need to run the script
yarn dev:server:brk, that changes the--inspectflag into--inspect-brk.
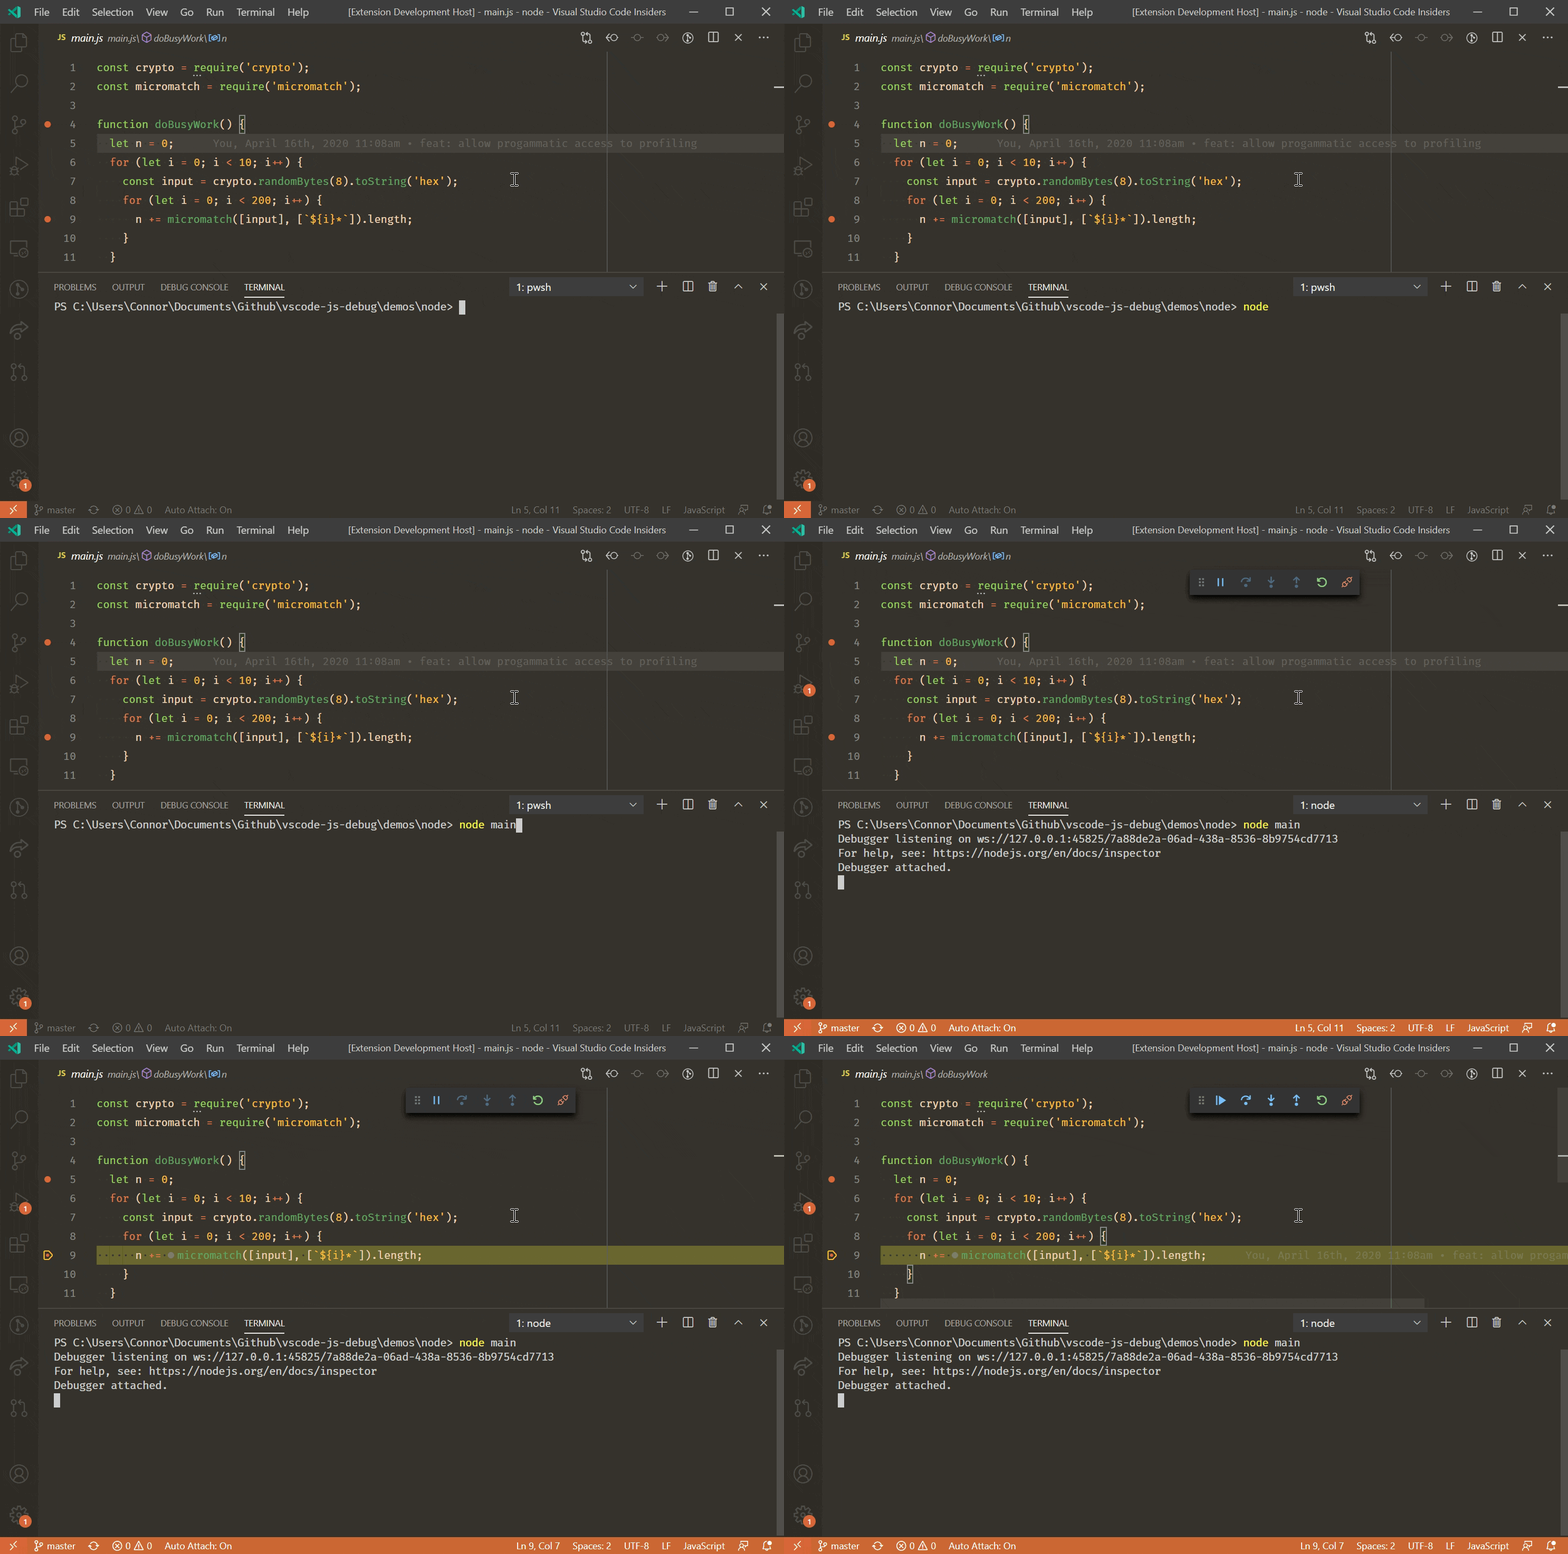
In order to debug with VSCode instead of Chrome DevTools, there are two options:
- Go to the Debugger section, choose
Attach to processand click the play button. - Read about
Node: Auto Attachfeature in the article Debug Your Node.js App in 60 Seconds by John Papa or in VSCode documentation.
First, we need to install a program that exposes our localhost to the internet. If you already use another program, expose port 3000 and skip to the second step.
-
Signup to ngrok, download and install.
-
Expose port 3000:
./ngrok http 3000
-
Copy the url from the second
Forwardingline, should look likehttps://xxxxxxxx.ngrok.io. -
Goto Settings/Webhooks in your repository, and fill in the form:
-
Payload URL:
https://xxxxxxxx.ngrok.io -
Content type:
application/json -
Secret: The
GITHUB_SECRETdefined in your environment, you could generate a random string using:node -p "crypto.randomBytes(20).toString('hex')" -
Let me select individual events: Pushes, Forks, Issues
-
-
Configure environment variables, it's important to set
NODE_ENVtoproduction. -
Run build script:
yarn build

# server only
yarn build:server

# client only
yarn build:client
-
The server code will be bundled in
dist/server.jsand the client indist/client.
- If you use Heroku, you can enable automatic deploy and the project will work without any further configuration.
Thepostinstallscript will create a build for both server and client.
And thestartscript will run the server that serves the client in the base url of your deployment.
| Path | Method | Description |
|---|---|---|
| / | GET | Serving the client (production only) |
| /webhook | POST | Receive events from Github |
| /commit | GET | List all commits from PushEvent |
| /fork | GET | List all forks from ForkEvent |
| /issue | GET | List all issues from IssuesEvent |

