Use this Vue SPA as a example of how to integrate the Axios module into your Javascript framework application. It will handle authentication for all your HTTP requests to the iMIS API from javascript based iParts, automatically adding on the RequestVerificationToken, from the DOM and correctly setting the path.
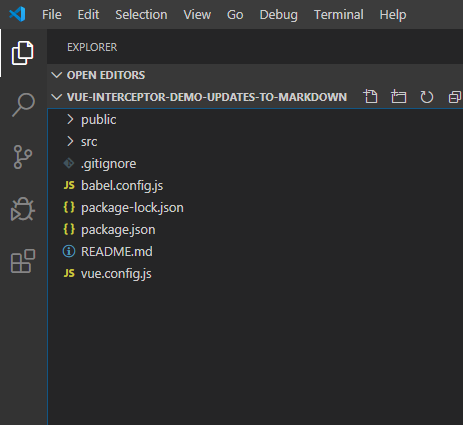
Clone or download the source files into your local directory that you can open in a preferred code editor (in this example VS Code was used).
Below is the "HelloWorld" component, this is where we import the module that will handle our HTTP requests. The "Fetch" method is tied to our button click, at which point it will make our call utilizing the implemented interceptor.
import  asiAxios  from  '@advsol/axios'
export  default {
name:  'HelloWorld',
props: {
    msg:  String
    },
methods: {
fetch:  function (event) {
// `this` inside methods points to the Vue instance
alert("hello");
asiAxios.get('api/Party?id=113')
.then(response  => {
	const  partyData = JSON.stringify(response);
	// append to DOM
	const  element = document.getElementsByClassName('output')[0];
	element.innerHTML = partyData;
}).catch(error  =>  console.error(error));
if (event) {
	event.preventDefault();
	}
}
When using the module in a new project run the following command to create a dependency.
npm i @advsol/axios
(As this demo already has an entry for the module we can skip this command.)
Install the dependencies through node.js syntax via terminal (verify that your working directory when running the command is the same location of the package.json)
npm i
You will notice that a "node_modules" folder has been added this is where the dependencies are located. Now you will run the build script that is located in the "package.json" file by running the following command.
npm run build
This will build your Vue app to the specified configured location, furthermore it will also provide a zip file of the contents that are ready to be uploaded to IMIS.
Do the following to configure the iPart in iMIS:
-
Log into iMIS as a Staff user.
-
Go to: RiSE > Maintenance > Content types.
-
Click New > Content-Type.
-
Select Client-based (preferred).
-
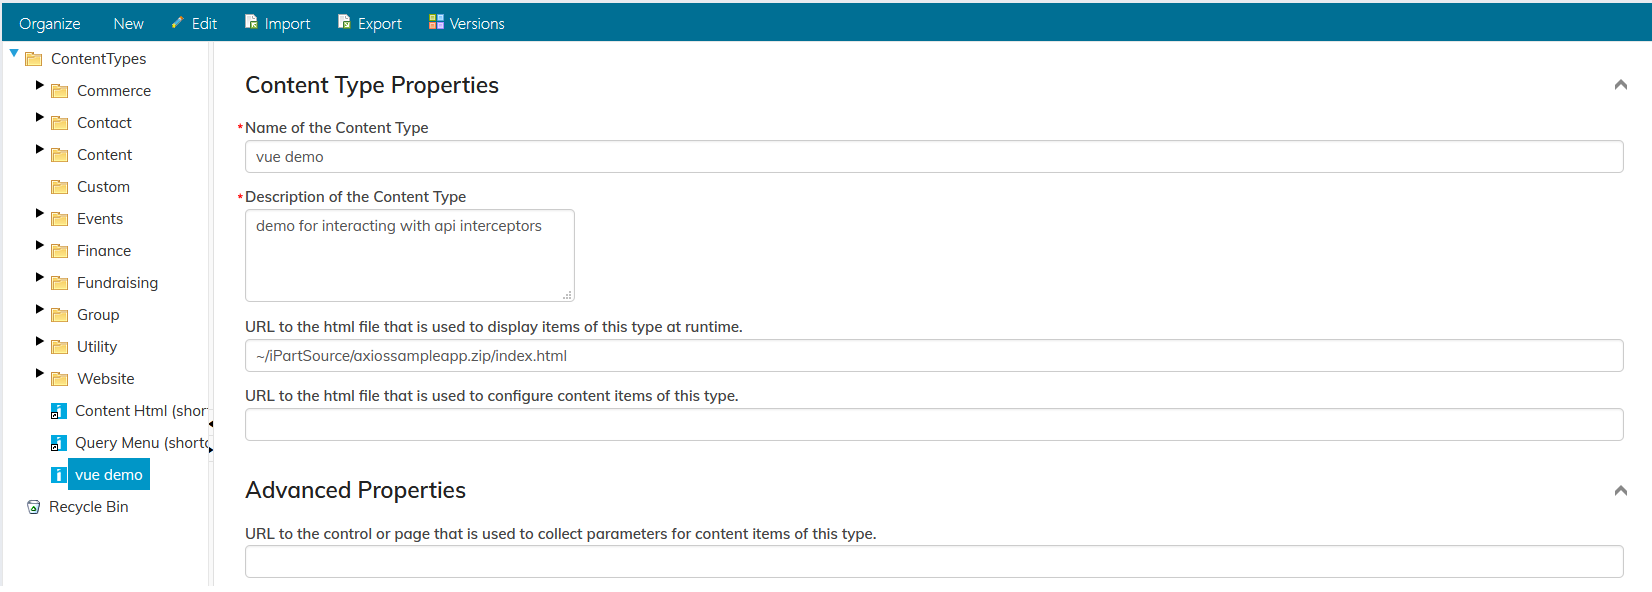
Complete the required fields (Name, Description, and the first URL field). Use the URL to your iPart

-
Save the iPart/Content Type.
Create a piece of content in RiSE and add your iPart to that content:
- As a staff user, go to: RiSE > Page Builder > Manage content.
- Click New > Website Content.
- Fill out the required fields and make sure to check Create navigation on publish:
- Select the location in the Navigation menu for your new content.
- Click Save & Publish.
After a short delay, your iPart navigation item and content are published. When you navigate to your new content, you will see an alert followed by the JSON returned by the API.


